Connecting To Your Devices: An SSH IoT Remotely Example
Do you ever wish you could check on your smart gadgets or tiny computers from far away? Maybe you have a sensor in your garden or a little robot in your workshop. Getting to these devices when you are not right there can feel like a puzzle. This is where a very handy tool comes in, letting you talk to your Internet of Things (IoT) devices from pretty much anywhere. It gives you a way to keep things running smoothly, even if you are miles away, which is quite useful, you know?
It lets you manage your small computers and sensors without needing to be next to them. This kind of access is super important for anyone with smart home gear or small projects. Think about updating software or fixing a small problem on a device that is out of reach. That, you see, is where this remote connection really helps out.
Today, we will look at how to use SSH for this very purpose. We will go through a simple `ssh iot remotely example` to show you the ropes. This method helps keep your connections safe and your devices under your control, even from a distance. So, let's get into how this works, shall we?
- Dawn Wells Net Worth
- Shashi Prabha Ratwatte
- Justin Bartha Net Worth
- Azlan T Bird
- Fredrik Million Dollar Listing Net Worth
Table of Contents
- What is SSH and Why It Matters for IoT?
- Getting Your IoT Device Ready for SSH
- Making the Remote Connection Happen
- A Step-by-Step SSH IoT Remotely Example
- Keeping Your IoT SSH Connections Safe
- Solving Common Connection Problems
- Frequently Asked Questions About SSH and IoT
- Wrapping Up Your Remote IoT Access
What is SSH and Why It Matters for IoT?
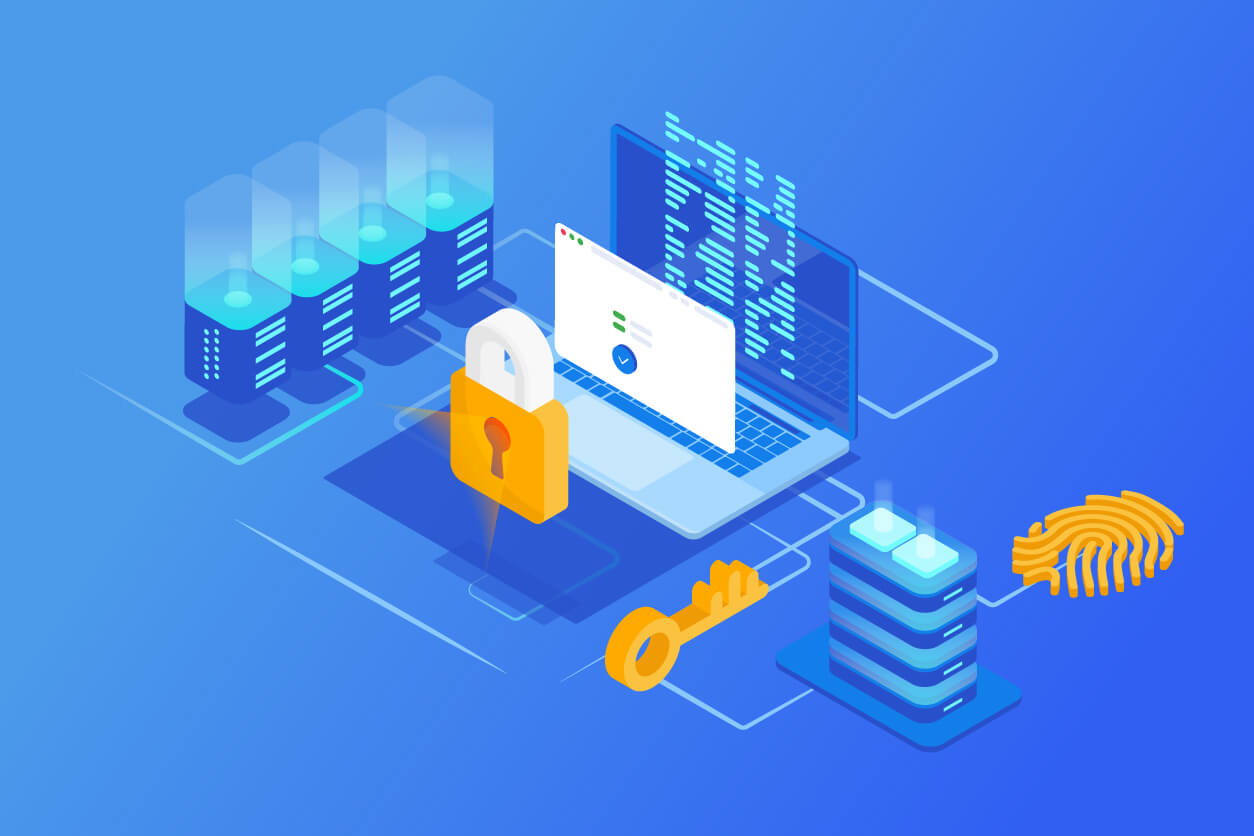
SSH, which stands for Secure Shell, is a software package. It lets you safely manage systems and move files across networks that might not be secure. This is used in nearly every data center and in every large enterprise, too. It is a way to log in from one computer to another, but with strong safety features, which is quite a big deal.
The SSH protocol, sometimes called secure shell, gives you several options for strong ways to prove who you are. It came from a free version by Tatu Ylonen and was further improved by the OpenBSD folks. This makes it a very trusted way to get things done securely, even when you are far away, you know?
For IoT devices, this means you can send commands, get information, or update software without worrying too much about someone listening in. Imagine your smart garden system needing a quick fix. You can simply connect to it, make the changes, and disconnect. All of this happens safely, which is pretty neat.
- Ted Lasso Fantasy Football Names
- Eva Cristiano Ronaldo
- Chad Lowe Movies And Tv Shows
- How Old Is Rihanna
- Jordielnino
Getting Your IoT Device Ready for SSH
Before you can connect to your tiny device from a distance, you need to set it up. This usually means picking the right device, getting its software ready, and then turning on the SSH feature. It's not too hard, actually, but it does take a few steps.
Picking the Right Device
Many small computers are good for this. Devices like the Raspberry Pi are very popular choices. They have enough power and are easy to get started with. Other devices, even some smart home hubs, might also support SSH, which is good to know.
The main thing is that your device needs to run some kind of operating system that can handle SSH. Most Linux-based small computers fit this bill perfectly. So, you want to pick something that lets you install or enable the necessary tools, you see.
Setting Up the Device Software
First, you will likely need to install an operating system on your IoT device. For a Raspberry Pi, this often means putting Raspberry Pi OS onto a memory card. You can find guides online for this part. It sets the stage for everything else you will do, which is important.
Once the operating system is on there, you might need to update it. This helps make sure you have the latest features and security fixes. Just a quick command usually does the trick. It is a good habit to keep things current, honestly.
Turning On SSH on Your Device
Most operating systems for these small devices do not have SSH turned on by default. This is a safety measure. You will need to enable it. For a Raspberry Pi, you can do this through its configuration tool or by creating a special file on the memory card before you even start it up. This step is pretty straightforward, actually.
If you are already logged into your device, you can usually turn on SSH with a simple command. This makes the device listen for incoming SSH connections. It is like opening a specific door, but only for those who have the right key, you know?
Making the Remote Connection Happen
Connecting to your device from outside your home network can be a bit more involved. Your home router usually protects your devices from the outside world. To let SSH traffic through, you might need to adjust some settings. There are a few ways to do this, each with its own benefits, so.
Understanding Your Network
Your IoT device is probably on your home network, getting a private address. To reach it from the internet, you need a way to tell your router to send traffic to that specific device. This is where things like port forwarding come in. It is like setting up a special delivery route for your data, you see.
Your internet service provider gives your home network one public IP address. All your devices share this one address when they talk to the internet. Knowing this helps you figure out how to get to your device from outside your house, which is quite a key piece of information.
Port Forwarding: A Quick Look
Port forwarding is one common way to do this. You tell your router that any traffic coming in on a certain port should go to your IoT device's private IP address and a specific port. For SSH, the standard port is 22. You might choose a different outside port for a bit more safety, you know?
While port forwarding can work, it does open a door directly to your device from the internet. This means you need to be very careful about your device's security. It is generally not the safest option unless you know what you are doing and have strong security in place, actually.
Using a VPN for Better Security
A more secure way to get to your IoT device remotely is to use a Virtual Private Network (VPN). You can set up a VPN server on your home network, perhaps on your router or another always-on computer. Then, when you are away, you connect to your home VPN. This puts your remote computer virtually inside your home network, which is pretty clever.
Once you are connected to your home VPN, you can then SSH to your IoT device as if you were sitting right there in your living room. This method keeps your device hidden from the open internet, making it much harder for unwanted visitors to find it. It adds a good layer of protection, honestly.
Cloud-Based Solutions for Easy Access
Some services offer cloud-based ways to connect to your IoT devices. These services often have a small piece of software that runs on your device. This software creates a secure link to the cloud service. Then, you use the cloud service to connect to your device. This can be easier to set up than port forwarding or a VPN, for some people.
These services can be good for those who find network settings a bit too much. They handle the hard parts of getting through firewalls and dynamic IP addresses. Just be sure to pick a reputable service, as you are trusting them with your device's access, which is something to consider.
A Step-by-Step SSH IoT Remotely Example
Let's walk through a basic `ssh iot remotely example` using a Raspberry Pi as our IoT device. We will assume you have already set up your Raspberry Pi with its operating system and enabled SSH on it. This example focuses on connecting from a computer that is outside your home network, so.
Step 1: Find Your Device's IP
First, you need to know the public IP address of your home network. You can usually find this by going to a website like "what is my IP" from any device on your home network. This is the address the outside world sees. Write it down, you know?
You also need the local IP address of your IoT device on your home network. You can find this by logging into your device directly and typing a command like `hostname -I`. This helps your router know where to send the connection once it gets inside your home, which is quite important.
Step 2: Connect From Your Computer
On your computer, you will open a terminal or command prompt. If you are on Windows, you might use PuTTY, which is an SSH and Telnet client for Windows. You can download the latest release there, with installation and SSH key setup instructions. For macOS or Linux, the SSH command is built right in, which is convenient.
The command to connect will look something like this: `ssh username@your_public_ip -p 2222`. Replace `username` with the login name for your IoT device (often `pi` for a Raspberry Pi). Replace `your_public_ip` with the public IP address you found earlier. The `-p 2222` part is if you set up port forwarding on your router to use an external port like 2222, redirecting to port 22 on your device. If you use the standard port 22, you can leave out the `-p` part. This command sends your connection request, actually.
When you connect for the first time, your computer might ask you to confirm the device's fingerprint. This is a security check. Just type `yes` and press Enter. Then, you will be asked for your device's password. Type it in, and you should be logged in remotely! It's pretty cool when it works, you see.
Step 3: Doing Things on Your Device
Once you are logged in, you can type commands as if you were sitting right in front of your IoT device. You can check its status, run programs, or update its software. For example, `sudo apt update && sudo apt upgrade` will update its system. This gives you full control from afar, which is very helpful.
When you are finished, simply type `exit` and press Enter. This will close your SSH connection. You have successfully managed your IoT device from a distance! That, you know, is the core of an `ssh iot remotely example`.
Keeping Your IoT SSH Connections Safe
The secure shell (SSH) protocol is widely used, but you need to know how to stay secure. As Suvi Lampila, SSH fellow, explains, “AI enables attackers to move horizontally within systems in seconds—turning a single crack into complete control almost instantly.” This means keeping your IoT devices safe is more important than ever. Here are some simple steps to help, so.
Strong Passwords or Keys
If you use a password, make it long and complex. Mix letters, numbers, and symbols. Even better, use SSH keys. This involves a pair of digital keys: one on your computer (private) and one on your IoT device (public). The private key stays secret and never leaves your computer. This is a much safer way to log in, you see.
With SSH keys, you do not need to type a password every time. This is both more convenient and much more secure. It is highly recommended for any remote access to your devices, honestly.
Changing the Default Port
SSH usually uses port 22. Many automated attacks scan for devices listening on this port. Changing your SSH port to a different, less common number (like 2222 in our example) can help avoid some of these automated scans. It is not a perfect security measure, but it does add a small layer of protection, you know?
Limiting Who Can Log In
You can set up your IoT device to only allow certain users to log in via SSH. You might also disable direct root login. This means someone would first have to log in as a regular user, then switch to the root user if needed. This adds an extra hurdle for anyone trying to get in, which is pretty smart.
For more details on managing users and permissions, you can learn more about SSH commands on our site. It helps keep things tidy and secure, you see.
Keeping Software Up-to-Date
Regularly update the operating system and all software on your IoT device. Updates often include security fixes that patch known weaknesses. This is one of the easiest and most effective ways to keep your device safe from new threats. It is something you should do often, you know?
The SSH protocol is based on the free version by Tatu Ylonen and further developed by the OpenBSD. SSH Communications Security Oyj ("SSH"), a leading defensive cybersecurity company for humans, systems, and networks, announces its intention to enter into a strategic partnership. This shows the constant work put into keeping SSH safe, which is good to hear.
Solving Common Connection Problems
Sometimes, things do not work perfectly the first time. If you cannot connect, here are a few things to check. First, make sure your IoT device is powered on and connected to the network. That seems simple, but it is often the cause, you know?
Check your public IP address. It might change if your internet provider gives you a dynamic one. Also, double-check your port forwarding settings on your router. Make sure the external port is correctly mapped to your device's internal IP and SSH port. These network settings can be a bit tricky, honestly.
If you are using SSH keys, make sure your private key has the correct permissions and that the public key is on your IoT device in the right place. Sometimes, a simple typo in the username or IP address can stop a connection. Just take your time and check everything carefully, you see.
For more help with SSH configurations, you can check out this page on how to configure them in Linux/Unix. It has lots of good information that might help you figure things out, you know?
Frequently Asked Questions About SSH and IoT
Here are some common questions people have about using SSH with IoT devices:
Can I SSH into my IoT device from anywhere?
Yes, you can, if you set up your network correctly. This usually involves port forwarding on your router or using a VPN. The goal is to make your device reachable from outside your home network. It takes a bit of setup, but it is very possible, you see.
Is SSH secure for IoT devices?
SSH itself is a very secure protocol for remote login. However, its security depends on how you use it. Using strong passwords or, even better, SSH keys, changing default ports, and keeping your device's software updated are all very important steps. If you follow good practices, it is quite secure, honestly.
What do I need to SSH into a Raspberry Pi remotely?
You will need a Raspberry Pi with its operating system installed and SSH enabled. You also need a computer to connect from, with an SSH client (like PuTTY for Windows or the built-in terminal for macOS/Linux). Finally, you need a way to get past your home router's firewall, usually through port forwarding or a VPN. That is pretty much it, you know?
Wrapping Up Your Remote IoT Access
Connecting to your IoT devices from afar using SSH gives you a lot of control and peace of mind. It means you can manage your smart home gadgets, your little project computers, or your remote sensors without needing to be physically present. This is a very useful skill for anyone playing with connected devices, so.
Remember, security is a big part of this. Always use strong ways to prove who you are, keep your software fresh, and be smart about how you expose your devices to the internet. Doing this helps make sure your remote access stays safe and sound, you see.
This `ssh iot remotely example` shows just how simple it can be to get started. With a little setup, your IoT world becomes much more accessible, no matter where you are. For more general information about SSH, you might want to look at the OpenSSH website, which is a good place to learn more.
- Jamelizsmth Onlyfans
- Mary Padian Today
- Funeral Home Finance Bellevue
- Deangelo Williams Career Earnings
- Maplestar Animation Highschool Dxd

SSH into your IoT Enterprise Gateway - NCD.io

IoT SSH Remote Access - SocketXP Documentation
What Is Ssh In IoT? | Robots.net
