How To Tie A Turnakit: Mastering Your Neckwear Knot
There's a certain quiet satisfaction, you know, in getting your neckwear just right, isn't there? It’s almost like a secret handshake with the day. For anyone who's ever wrestled with a tie, trying to get that perfect drape and shape, you understand the feeling. A well-chosen tie, perhaps one of those lovely floral coral pink ties or a stylish floral rust blooms tie that we offer, truly needs the right knot to make it sing. That’s where learning how to tie a "turnakit" comes in, which is really just our playful way of talking about making a great knot.
It's not just about getting the fabric around your neck; it's about crafting a statement. Think about those crisp, neat knots you see, the kind that just seem to hold their form all day long. That kind of polish, frankly, speaks volumes about attention to detail. Whether you're getting ready for a big meeting or just want to add a bit of flair to your casual look, knowing how to create a solid knot is a skill that really serves you well.
So, we're going to explore the simple, yet powerful, art of knot-tying. This guide will help you achieve that polished appearance, making sure your tie, be it a classic silk tie for professional settings or a trendy skinny one, looks its very best. It's truly about giving your whole outfit a lift, you see.
- What Is Morris Days Net Worth
- Husband Kaitlan Collins Married
- Do Black And Brown Go Together
- Keith Bynum Lpsg
- The Fappening Kayley Cuoco
Table of Contents
- The Heart of Your Look: Why a Good Knot Matters
- Unraveling the "Turnakit": Popular Necktie Knots
- Step-by-Step: Tying Your Classic "Turnakit" (The Four-in-Hand)
- Choosing Your "Turnakit": The Right Knot for the Occasion
- Tips for a Perfect "Turnakit" Every Time
- Caring for Your "Turnakit" and Your Tie
- Frequently Asked Questions About Tying Knots
- Your Next "Turnakit" Adventure
The Heart of Your Look: Why a Good Knot Matters
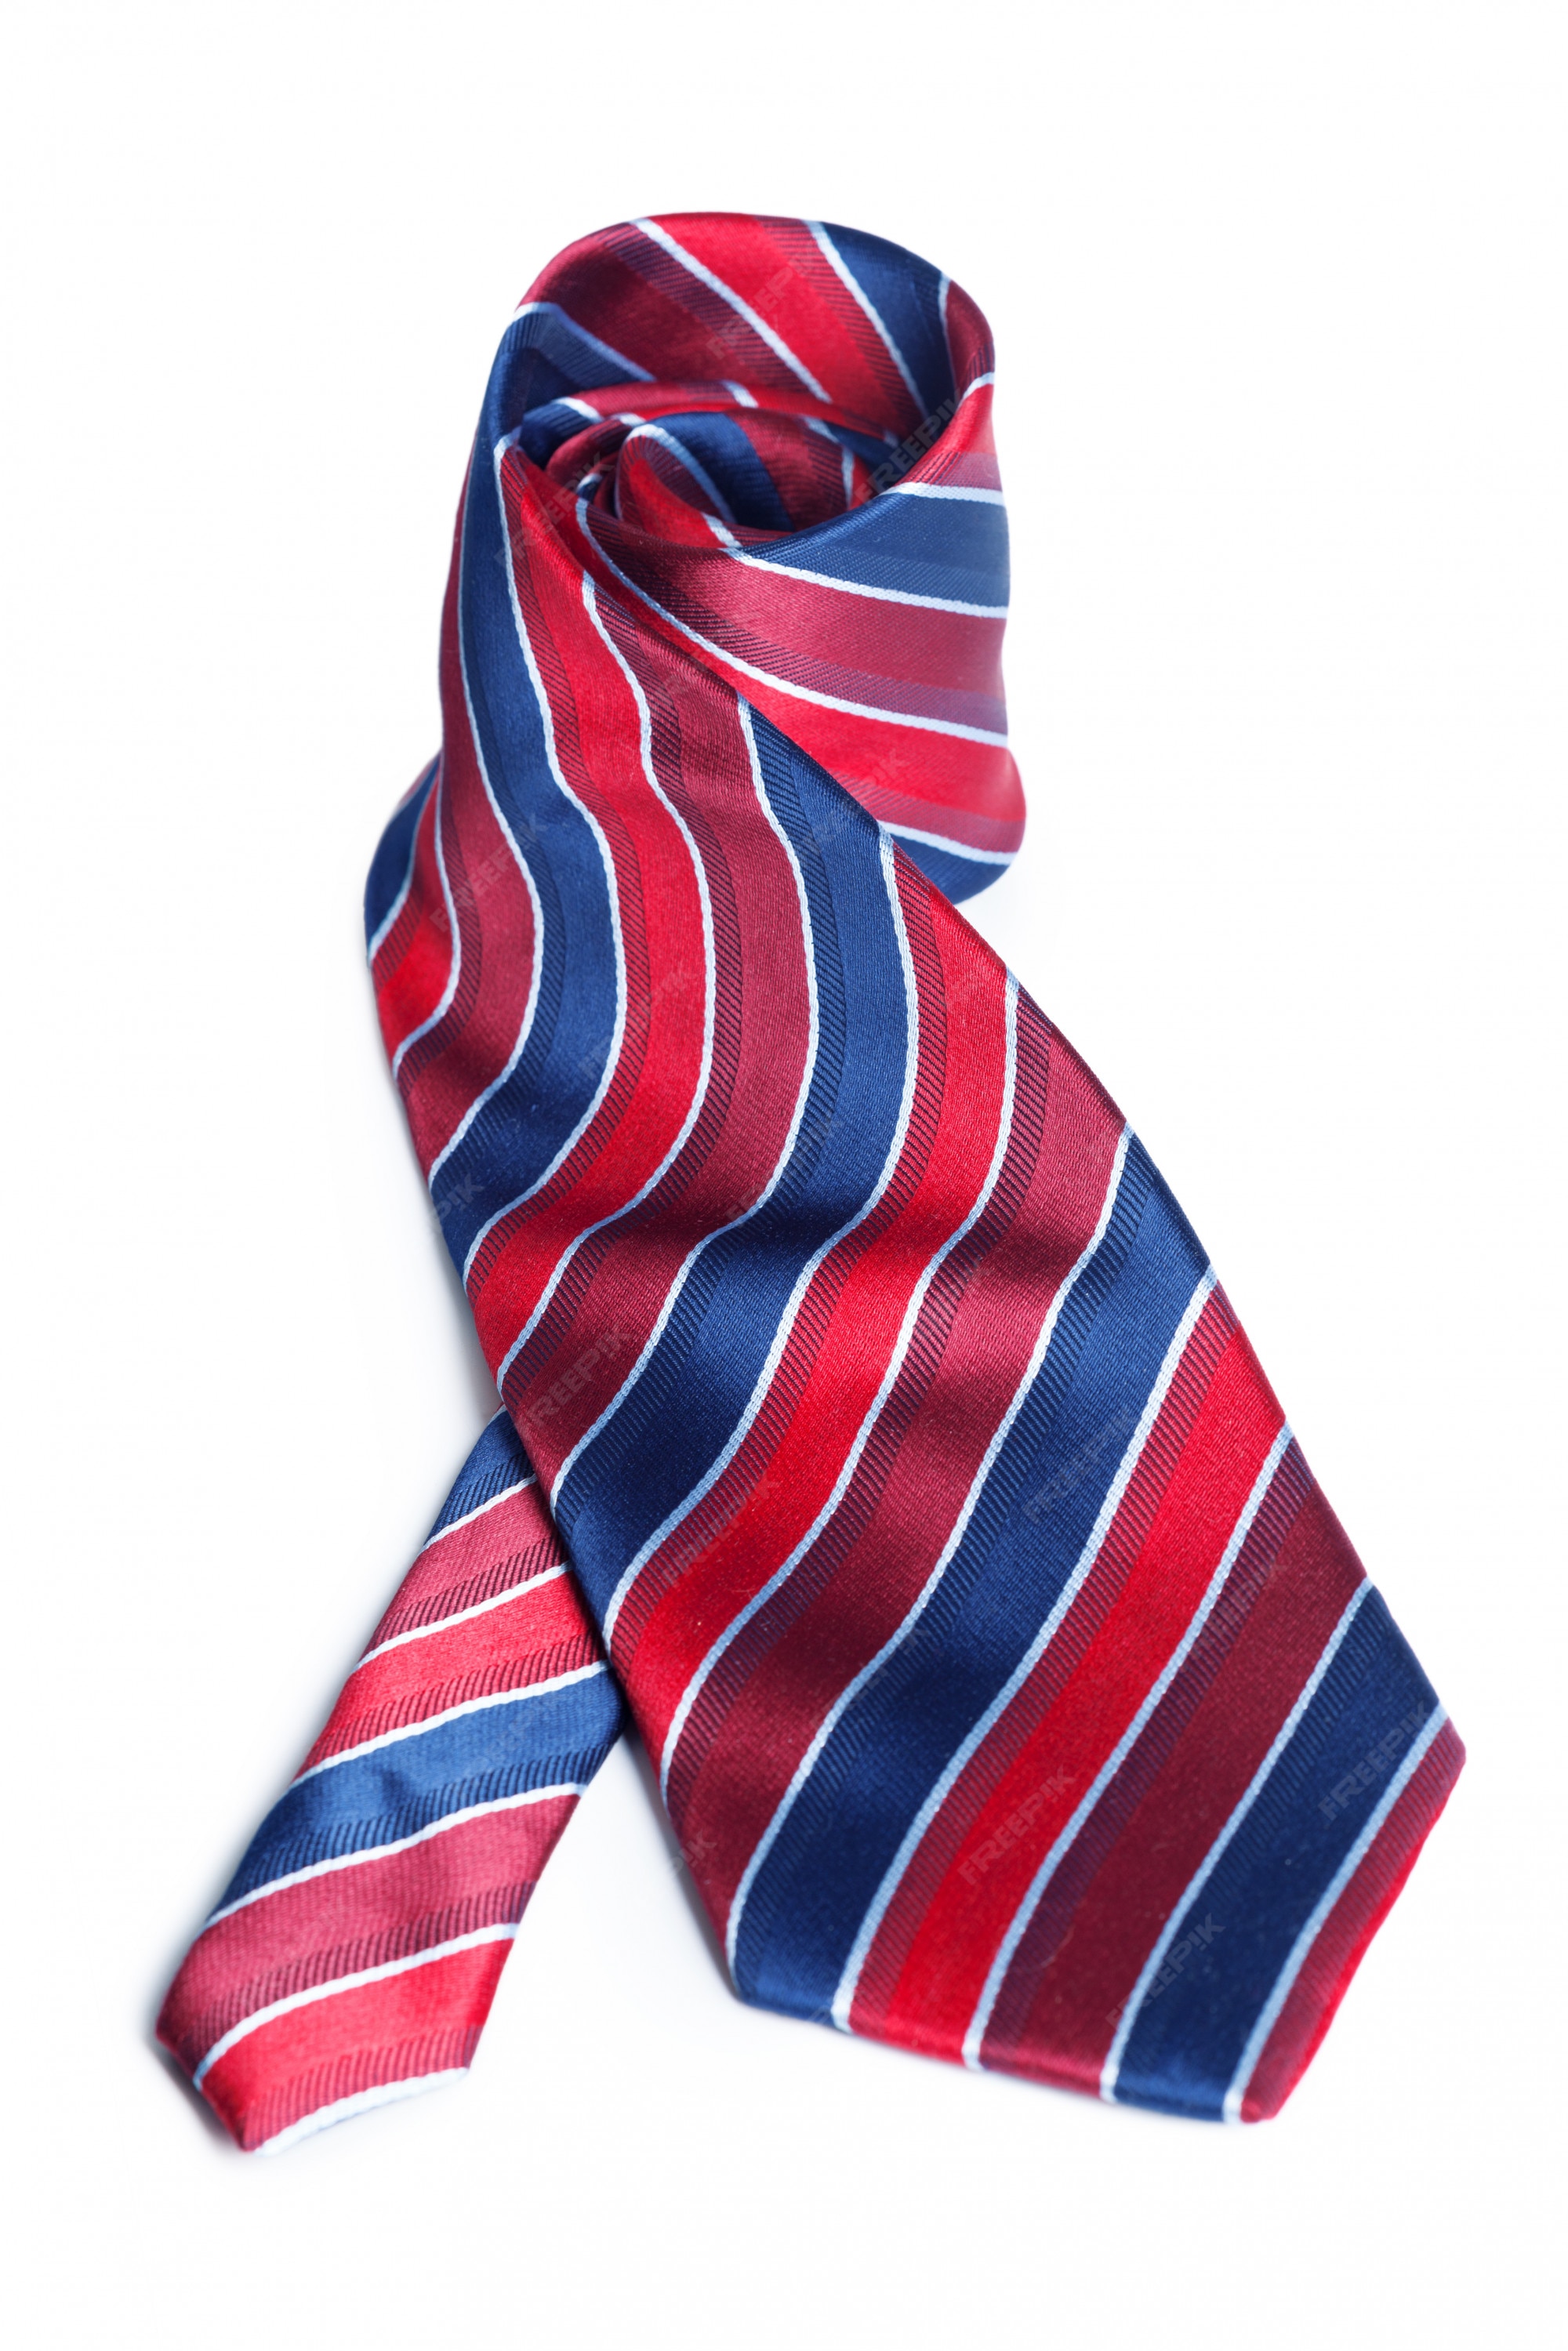
You know, the way a tie is tied, it really does make a huge difference to your whole appearance. It’s not just about the tie itself, like those cool, fun, unique, and trendy designer ties you can find. A well-formed knot, a true "turnakit" if you will, frames your face and sets the tone for your outfit. It can make a simple shirt look incredibly sharp, or perhaps it can pull together a more complex look with ease. A sloppy knot, on the other hand, can, well, kind of undo all the effort you put into picking out your clothes.
Consider the actual construction and build of the tie itself. We put a lot of thought into how our ties are made, from the fabric to the stitching. A good knot, you see, helps show off that craftsmanship. It allows the tie to hang properly, without wrinkles or awkward bulges. This is especially true for those slim neckties for men or even the most long neck ties; the knot needs to complement their specific dimensions. It’s a bit like the final flourish on a piece of art, really.
Also, a proper knot helps your tie last longer. When you tie it correctly, you avoid putting undue stress on the fabric, particularly at the point where the knot forms. This means your favorite ties, whether they're recycled polyester with a solid pattern or a luxurious silk, will keep their good looks for many more wears. It’s a small thing, perhaps, but it truly adds up to a lot of value over time.
- Human Carpet
- Richard Dawson Net Worth
- Shelley Long Net Worth
- John Stamos Spouse
- Steve Buscemi The Equalizer
Unraveling the "Turnakit": Popular Necktie Knots
When we talk about "how to tie a turnakit," we're actually talking about a range of different ways to tie a necktie. Each method creates a distinct shape and size of knot, offering various levels of formality and style. Knowing a few of these, you know, gives you options for any situation. It's pretty interesting how much variety there is, actually.
The most common knots are usually the easiest to learn first. These are the ones you'll see most often, and for good reason: they're versatile and look good on nearly everyone. But there are also more unusual knots that can add a truly unique touch. It's like having a whole wardrobe of knot styles at your fingertips, so to speak.
So, let's explore a few of these popular "turnakit" styles. Understanding their differences will help you pick the best one for your particular tie and the occasion. It's really about finding what feels right and looks best on you, you know?
The Four-in-Hand: A Casual Favorite
The Four-in-Hand knot is, for many, the go-to choice. It's relatively small and slightly asymmetrical, giving it a relaxed, yet refined, feel. This knot works particularly well with thicker ties, as it doesn't add too much bulk. It's often the first knot people learn, and honestly, it’s a great one to master because of its simplicity and versatility. It's pretty much a staple, really.
This knot is perfect for everyday wear, like for work or a casual dinner. It pairs beautifully with narrower collar openings, too, because its smaller size won't overwhelm the shirt. You see it a lot, and for good reason. It just works, you know?
The Half-Windsor: A Balanced Choice
The Half-Windsor knot is a bit more substantial than the Four-in-Hand, offering a more symmetrical and triangular shape. It’s a really nice middle ground, actually, between casual and formal. This knot uses a bit more fabric, so it's a good choice for ties made from lighter materials or for those occasions where you want a slightly fuller look.
It's quite popular for business settings or semi-formal events. The Half-Windsor provides a clean, polished appearance without being overly large. It’s a very dependable knot, and it looks good with most collar types, which is a big plus. It's a pretty versatile option, really.
The Windsor Knot: For Formal Flair
The Windsor knot, also sometimes called the Full Windsor, is the largest and most symmetrical of the common knots. It makes a bold statement, and it's often chosen for formal occasions or when you want a really strong, confident look. This knot uses the most fabric, so it's best paired with ties that are a bit longer or made from lighter, more flexible materials. It's a very striking knot, you know.
It's typically reserved for wide-spread collars, as its substantial size needs room to shine. When tied correctly, the Windsor knot conveys a sense of power and elegance. It’s the kind of knot that says you mean business, and you've got everything buttoned up. It's a bit of a classic, really, for those important moments.
Step-by-Step: Tying Your Classic "Turnakit" (The Four-in-Hand)
Let’s walk through how to create one of the most popular "turnakits" – the Four-in-Hand knot. This is a great starting point for anyone looking to master their tie-tying skills. It’s a fairly simple process, you know, and with a little practice, you'll be doing it without even thinking. It really is quite straightforward, apparently.
First, drape the tie around your neck with the wider end on your dominant side, extending about 12 inches lower than the narrow end. This initial setup is quite important for getting the proportions right. It sets the stage for the whole knot, you see. Make sure the tie is sitting comfortably around your collar.
Next, take the wide end and cross it over the narrow end. This creates the first part of your knot. You're basically forming a simple 'X' shape right under your chin. It’s the foundational step, and it needs to be snug but not tight against your neck, you know, so it's comfortable.
Now, bring the wide end underneath the narrow end. This action starts to build the bulk of the knot. You’re essentially looping the wide end around the narrow part of the tie. It’s a simple pass, but it’s quite important for the structure. It’s almost like you’re creating a little pocket, in a way.
Then, bring the wide end up through the neck loop from underneath. You’re pulling it up towards your face, through the opening you just created around your neck. This step really starts to define the knot's shape. It’s a pretty key movement, actually, for getting that classic look.
After that, pull the wide end down through the loop you just formed in the front. This is where the knot starts to tighten and take its final form. Guide the wide end down, making sure it passes smoothly through that front loop. It’s about shaping it, you know, so it looks neat.
Finally, gently pull down on the wide end while sliding the knot up towards your collar with your other hand. Adjust the knot until it’s snug and sitting perfectly against your shirt collar. Make sure the narrow end is tucked into your shirt, and you’re all set! It's a really satisfying feeling, you know, when it all comes together just right.
Choosing Your "Turnakit": The Right Knot for the Occasion
Picking the right "turnakit" isn't just about what you can tie; it's also about what suits the moment. The kind of knot you choose can actually say a lot about your style and how seriously you take an event. It’s a bit like choosing the right shoes for an outfit, you know? It really completes the look.
For instance, if you're heading to a very formal event, like a wedding or a significant business meeting, a Windsor knot might be your best bet. Its full, symmetrical shape conveys a sense of seriousness and elegance. It really stands out, you see, and it shows you put thought into your appearance. It’s a pretty strong statement, actually.
For daily office wear or a casual dinner, the Four-in-Hand or Half-Windsor are usually excellent choices. They are less imposing but still look neat and professional. These knots are more relaxed, so to speak, and they pair well with a wider range of shirt collars. They're very versatile, which is always a good thing, right?
Consider the tie itself, too. A thick, wool tie might look bulky with a large Windsor knot, but it could be perfect with a smaller Four-in-Hand. Conversely, a very thin silk tie might need the fullness of a Half-Windsor or Windsor to make a statement. It’s about balance, you know, and making sure everything works together harmoniously. It’s really quite important, apparently.
Tips for a Perfect "Turnakit" Every Time
Getting that perfect "turnakit" consistently takes a little practice, but there are some simple tricks that can really help. These tips are about making the process easier and ensuring your knot looks sharp every single time. It's not magic, you know, just good habits. It's actually quite simple, really.
First, always start with the wide end of your tie at the correct length. This is probably the most crucial step for a well-proportioned knot. If it's too long or too short at the beginning, your finished knot will either be too small or too big, or the narrow end will hang too low or too high. Getting this right from the start saves a lot of fuss later, you see. It's pretty fundamental, actually.
Second, keep the knot snug as you tie it. Don't pull it too tight, but don't let it be too loose either. A consistent tension throughout the tying process helps the knot form cleanly and hold its shape. You want it to feel firm, yet comfortable, against your neck. It’s a bit of a delicate balance, you know, but you'll get the feel for it quickly. It's pretty much about muscle memory, in a way.
Third, use a mirror! Seriously, it makes a huge difference, especially when you're first learning. Being able to see what you're doing helps you guide the tie and make adjustments as you go. Even seasoned tie-wearers often use a mirror for that final touch. It's a really simple tool that helps a lot, you know. It’s just practical, really.
Fourth, dimple your tie. A dimple is that small, elegant crease just below the knot. It adds a touch of sophistication and depth to your tie. To create one, simply press your index finger into the center of the tie just below the knot as you tighten it. It's a small detail, perhaps, but it really elevates the look. It's a bit of a secret weapon, in some respects.
Finally, practice! The more you tie your ties, the more natural the process will become. You'll develop a feel for the fabric, the tension, and the movements. Soon, tying a perfect "turnakit" will be second nature, and you'll be able to do it quickly and confidently. It’s just like anything else, you know; practice makes perfect. It's really quite rewarding, actually.
Caring for Your "Turnakit" and Your Tie
Once you’ve mastered how to tie a great "turnakit," you’ll want to make sure your ties stay looking good. Proper care isn't just about cleaning; it’s also about how you handle the tie when you take it off. This helps preserve the fabric and the shape of the tie, you know, keeping it ready for its next outing. It's pretty important for longevity, really.
When you take off your tie, always untie the knot completely. Don't just pull the narrow end through the knot to loosen it. This can stretch and damage the fabric, especially with delicate materials like silk. Gently reverse the steps you took to tie it, letting the knot unravel naturally. It’s a small habit, but it really helps protect your investment. It’s a bit like putting your clothes away properly, you see.
After untying, hang your ties on a tie rack or drape them over a hanger. This allows any wrinkles to fall out naturally and prevents creases from forming. Folding ties can create permanent creases, which nobody wants. Keeping them hanging freely is the best way to maintain their smooth appearance. It’s just good practice, you know, for keeping them looking their best.
For cleaning, always check the care label on your tie. Many ties, especially those made of silk or wool, require dry cleaning. Avoid washing them in a machine, as this can damage the fabric and alter the tie's shape. Spot cleaning small marks with a damp cloth can sometimes work, but for anything more substantial, professional cleaning is usually the safest bet. It’s about being gentle, you know, with these delicate items. It’s really quite important, apparently.
Proper storage and care mean your ties, whether they are from Hisdern ties for men or a selection from Macy's, will look sharp for years to come. It’s a testament to good habits, really, and it means you'll always have a perfect "turnakit" ready to go. It’s a bit of a commitment, perhaps, but it’s totally worth it.
Frequently Asked Questions About Tying Knots
People often have questions when they're learning to tie knots, and that's totally normal. Here are some common things folks wonder about when they're trying to get their "turnakit" just right. It's good to get these things cleared up, you know, so you can tie with confidence. It's pretty common, really, to have these questions.
What's the simplest way to get a good-looking knot?
Honestly, the simplest way is to start with the Four-in-Hand knot. It's the least complicated and, with a little practice, you can get a very neat, stylish result quickly. Focus on keeping the tension consistent and making sure the wide end starts at the right length. It’s just about repetition, you know, and getting the feel for it. It's actually quite straightforward, apparently.
How can I make my tie knot look bigger or smaller?
To make your knot look bigger, you can choose a wider tie or use a knot like the Windsor, which naturally creates a larger shape. For a smaller knot, pick a skinnier tie and use the Four-in-Hand method. The thickness of the tie fabric also plays a role; a thinner fabric will generally make a smaller knot, and vice versa. It’s about matching the tie to the knot, you see, and it really makes a difference.
Is there a trick to making the knot stay tight all day?
The main trick is to ensure you pull the knot snug as you're finishing it, without over-tightening. Also, making sure the tie is made of a good quality fabric that holds its shape helps a lot. Some people also find that a tie bar or clip, like those you might find in a menswear accessories collection, can help keep the tie in place and prevent the knot from loosening throughout the day. It’s a small detail, but it can really help, you know. It's pretty effective, actually.
Your Next "Turnakit" Adventure
So, there you have it – a good look at how to tie a "turnakit," which is really about mastering the art of the necktie knot. It’s a skill that adds a touch of polish and confidence to your personal style. Whether you prefer the relaxed charm of a Four-in-Hand or the commanding presence of a Windsor, knowing how to create that perfect knot means your ties will always look their absolute best. It's a truly rewarding skill, you know, and it really makes a difference to your whole appearance.
Remember, the goal is to make your tie look great, and that includes the knot. With a bit of practice and these simple tips, you’ll be tying sharp, elegant knots in no time. Explore our collection of ties, bow ties, pocket squares, and tie bars to find the perfect accent for any outfit, and then put your new "turnakit" skills to good use! You can find a wide range of options to complete your look with Macy's selection of men's ties, for example. It's pretty exciting, actually, to see how much difference a good knot makes.
Live customer help, fast delivery, and a 100% satisfaction guarantee mean you can shop with confidence, knowing you’ll find exactly what you need to make your next "turnakit" shine. We encourage you to explore our collection where you’ll discover ties that resonate with your personal style. It's all about finding what makes you feel good, you know, and looking sharp while doing it. Learn more about our latest collection on our site, and link to this page for more style tips.
- Father Of Mariah Carey
- Jesse Morales Who Is Jesse Morales
- Who Is Sandra Smith Married To
- Legacy Phrases
- Tornado Warning California Scotts Valley

Navy and Red Repp-Striped Tie in XXL | Bows-N-Ties.com

How To Tie A Necktie | Different Ways Of Tying A Tie | Ties.com
Premium Photo | Tie isolated on white
